

Tech tip1 min read
Running the INFOGUARD Test with the I9600 Software
Steps to create and run an INFOGUARD test job in the I9600 Application software and prepare the sample for submission.
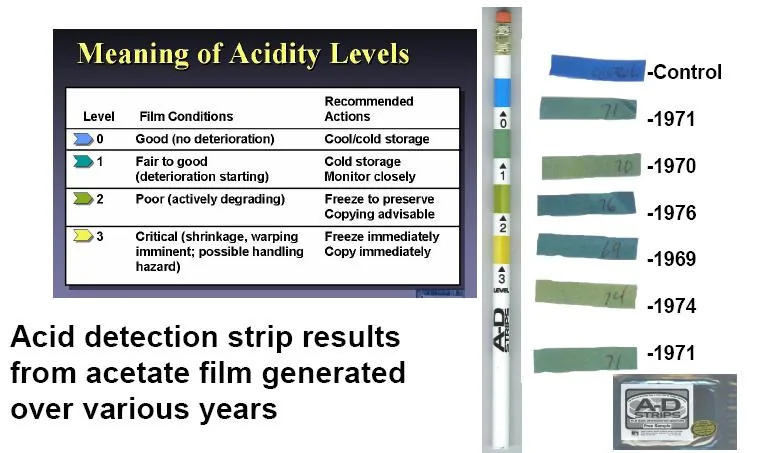
The INFOGUARD test is part of the film quality monitoring program. This guide describes how to create and run a test job in the I9600 Application software and prepare the sample for submission.
Highlights
- The job type must be set to Infoguard
- Advance the film 24in (2 feet) before running
- Before removing the roll for processing, add 24 to 36 inches of leader so the last images are not fogged
- Test results are reported by email within 2 business days of receipt
Steps
- Open the I9600 Application software by clicking the Writer icon
- Select Job, then New Job
- Select Infoguard as the Job type
- Connect to the writer by clicking its icon; the film footage is displayed once connected
- Advance the film 24in
- Run the job with the Play button
- When finished, select YES to complete the job or NO to continue writing from the current image address
- Add 24" to 36" of leader before removing the roll for processing
- After processing, complete the top section of the form and attach the test sample (clear section and image section) to the bottom section of the form
- Send the test form to the lab
Source:Eastman Park Micrographics(epminc.com)(opens in a new tab)
Frequently asked questions
What job type must be selected in the I9600 Application for the INFOGUARD test?
The job type must be set to Infoguard.
How much film must be advanced before running the INFOGUARD test in the I9600 Application?
The film must be advanced 24in (2 feet) before running the test.
How much leader must be added to the I9600 film roll before removing it for processing?
24 to 36 inches of leader must be added so the last images are not fogged.
Within how many business days are INFOGUARD test results reported after receipt?
Test results are reported by email within 2 business days of receipt.
If NO is selected after finishing an INFOGUARD job in the I9600 Application, what happens?
Selecting NO continues writing from the current image address.
Attachments
Comments
No comments yet. Be the first to share your view.
Leave a comment
More to read
Tech tip · Dental Imaging
Planmeca ProMax Cephalostat with ProTouch User's Manual
User's manual for the Planmeca ProMax Cephalostat with ProTouch touchscreen, for accurate head positioning and cephalometric imaging on 2D and 3D ProMax units.
Planmeca
Tech tip · Dental Imaging
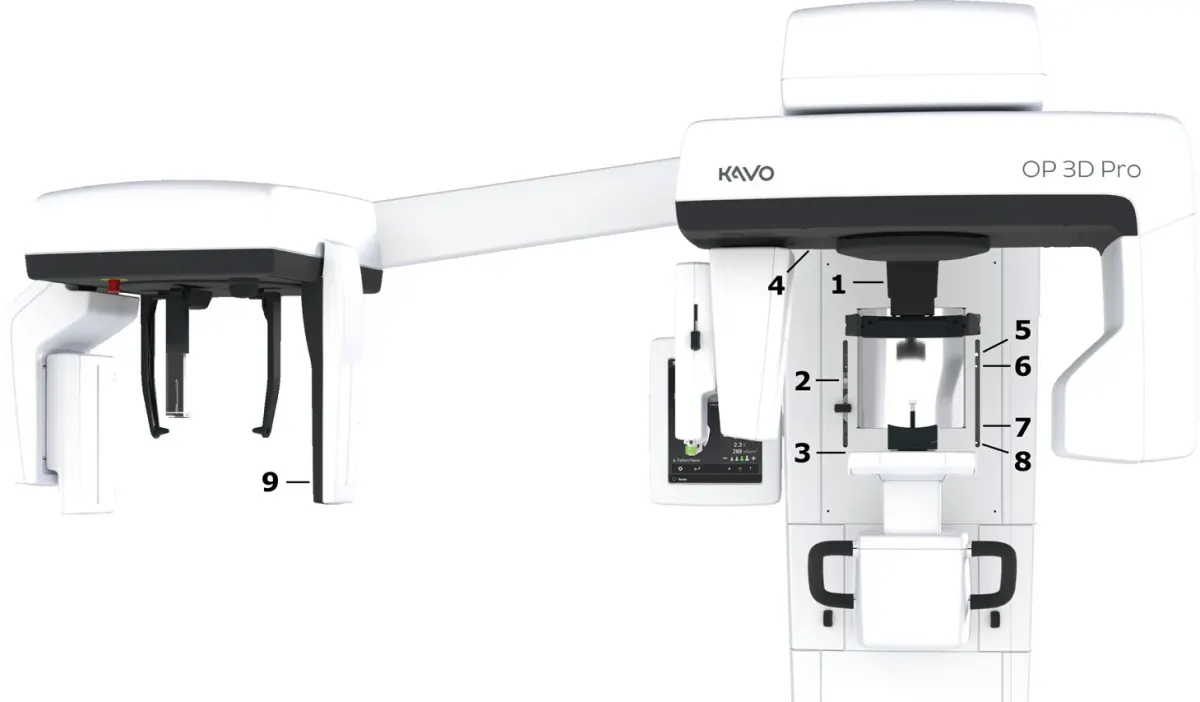
ORTHOPANTOMOGRAPH OP 3D Pro User Manual
User manual and technical specifications for the OP 3D Pro digital dental imaging system with panoramic, cephalometric and Cone Beam 3D programs.
Instrumentarium Dental
Tech tip · Microfilm
Tech Tip 91: Choosing the Correct IMAGELINK Product
IMAGELINK camera, duplicating, Archive Writer and COM films and processing chemicals grouped by equipment and application, with catalog numbers.
Eastman Park Micrographics