

Tech tip1 min read
Tech Tip 115: Adjusting IMAGELINK Archive Writer Exposure
How to adjust IMAGELINK Archive Writer exposure in the i9600 software to reach the recommended 1.0 background density on IMAGELINK RA microfilm.
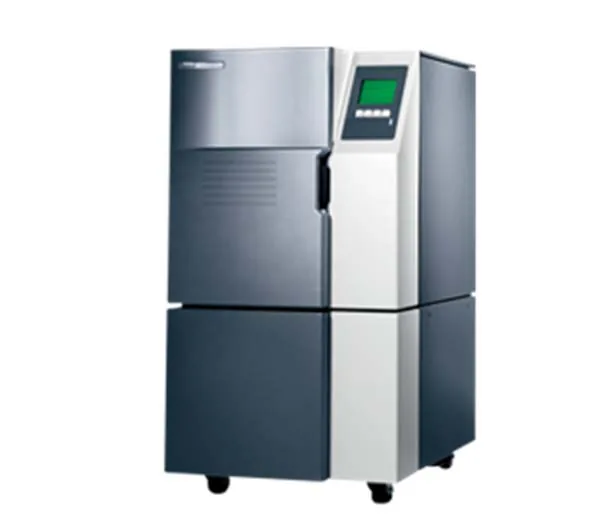
The background density of processed Reference Archive film depends on the Archive Writer exposure level and the processing parameters. It is recommended to adjust the writer exposure first and leave processor adjustment as the last step. The exposure level can be adjusted by the operator through the IMAGELINK i9600 Series Writer software user interface.
Highlights
- Recommended background density for IMAGELINK RA microfilm: 1.0 +/- 0.05, with outer limits of 0.90 to 1.10
- Aim toward the lower limit for poor-quality original documents and toward the upper limit for good-quality documents
- Each unit of change in the exposure setting changes film density by 0.03
- The Archive Writer must be online to make the adjustment
Steps
- In the i9600 software, click Administration and then Writer.
- On the writer tab, select the Archive Writer from the drop-down list.
- Change the exposure setting with the arrow buttons.
- Click Apply and OK.
- Run a test with a white document and check the density.
Source:Eastman Park Micrographics(epminc.com)(opens in a new tab)
Frequently asked questions
How much does each unit change in the IMAGELINK Archive Writer exposure setting affect film density?
Each unit of change in the exposure setting changes film density by 0.03.
How should IMAGELINK Archive Writer exposure be adjusted based on original document quality?
Aim toward the lower limit for poor-quality original documents and toward the upper limit for good-quality documents.
How do you adjust the exposure for the IMAGELINK Archive Writer in the IMAGELINK i9600 Series Writer software?
In the i9600 software, click Administration and then Writer, select the Archive Writer from the drop-down list on the writer tab, and change the exposure setting with the arrow buttons.
What steps should be taken after changing the IMAGELINK Archive Writer exposure setting?
Click Apply and OK, run a test with a white document, and check the density.
Attachments
Comments
No comments yet. Be the first to share your view.
Leave a comment
More to read
Tech tip · Dental Imaging
Planmeca ProMax Cephalostat with ProTouch User's Manual
User's manual for the Planmeca ProMax Cephalostat with ProTouch touchscreen, for accurate head positioning and cephalometric imaging on 2D and 3D ProMax units.
Planmeca
Tech tip · Dental Imaging
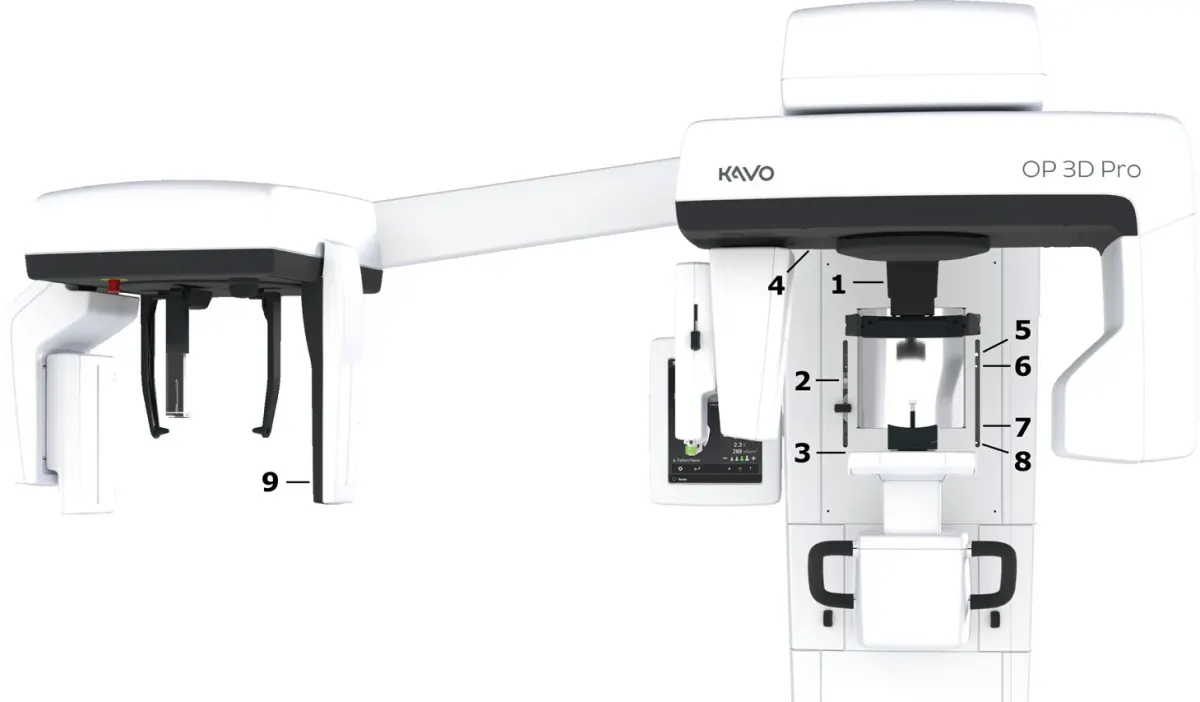
ORTHOPANTOMOGRAPH OP 3D Pro User Manual
User manual and technical specifications for the OP 3D Pro digital dental imaging system with panoramic, cephalometric and Cone Beam 3D programs.
Instrumentarium Dental
Tech tip · Microfilm
Tech Tip 91: Choosing the Correct IMAGELINK Product
IMAGELINK camera, duplicating, Archive Writer and COM films and processing chemicals grouped by equipment and application, with catalog numbers.
Eastman Park Micrographics