

Tech tip1 min read
EPM Tech Tip 079: Cleaning and Maintaining a Densitometer
Key practices for keeping a lab densitometer accurate: leaving it powered on, weekly calibration and careful cleaning of the reflector and viewer.
Densitometers from different manufacturers are similar in areas such as calibration method, zeroing, lamp and aperture. This Eastman Park Micrographics (EPM) guide gives key maintenance tips for this important lab instrument.
Highlights
- Always leave the densitometer on; for example, from Monday morning to the end of the day Friday.
- Frequent switching off and on damages the electronics and may cause reading shifts.
- Calibrate the unit at least weekly with the manufacturer's calibration wedge; if you do not have one, obtain it from the manufacturer.
- For cleaning, remove the screws and take off the viewing area.
- Clean the inside of the unit by blowing air.
- Clean the white reflector area with a lint-free cloth slightly dampened with water.
- Clean the viewer with a lint-free cloth and reinstall it.
- Use the calibration pod adjuster (which may be at the back of the unit) together with the manufacturer's wedge.
Source:Eastman Park Micrographics(epminc.com)(opens in a new tab)
Frequently asked questions
Why should a densitometer be left on?
Frequent switching off and on damages the electronics and may cause reading shifts.
How often should a densitometer be calibrated with a calibration wedge?
The densitometer should be calibrated at least weekly with the manufacturer's calibration wedge; if you do not have one, obtain it from the manufacturer.
How should the white reflector area of a densitometer be cleaned?
The white reflector area should be cleaned with a lint-free cloth slightly dampened with water.
What is used to calibrate a densitometer?
The calibration pod adjuster (which may be at the back of the unit) is used together with the manufacturer's wedge.
How should the inside of a densitometer be cleaned?
The inside of the unit should be cleaned by blowing air.
Attachments
Comments
No comments yet. Be the first to share your view.
Leave a comment
More to read
Tech tip · Dental Imaging
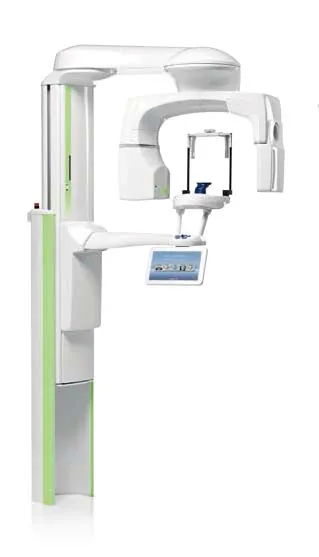
Planmeca ProMax Cephalostat with ProTouch User's Manual
User's manual for the Planmeca ProMax Cephalostat with ProTouch touchscreen, for accurate head positioning and cephalometric imaging on 2D and 3D ProMax units.
Planmeca
Tech tip · Dental Imaging
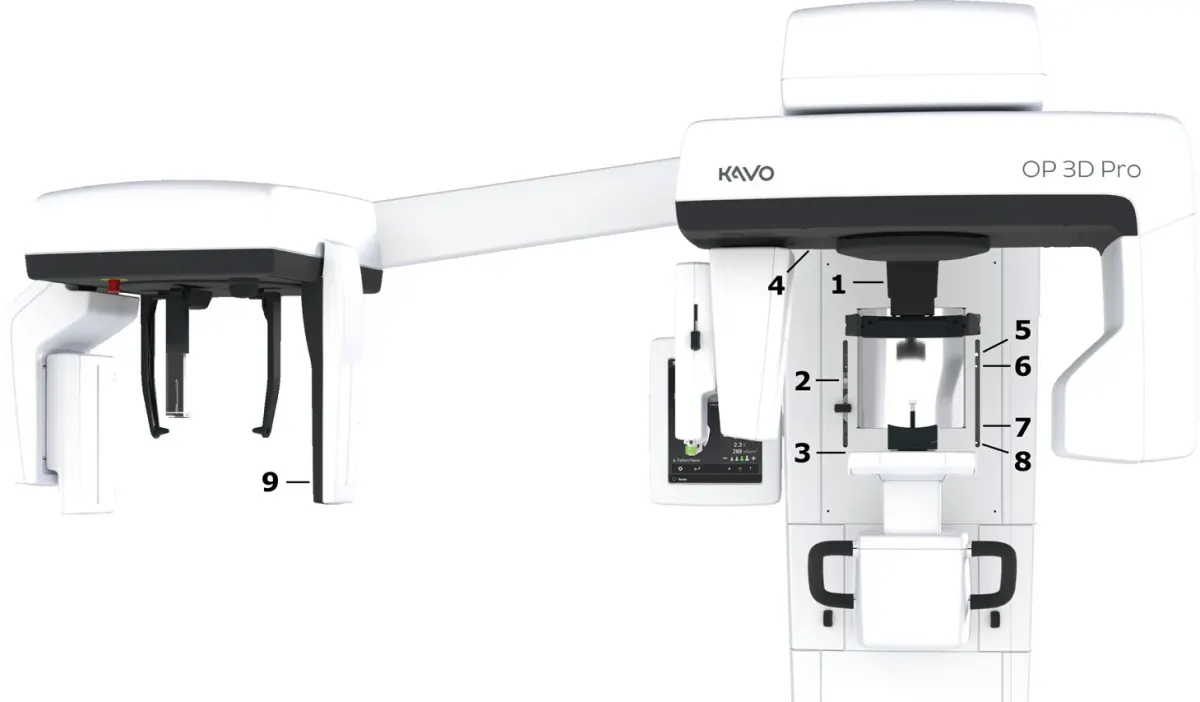
ORTHOPANTOMOGRAPH OP 3D Pro User Manual
User manual and technical specifications for the OP 3D Pro digital dental imaging system with panoramic, cephalometric and Cone Beam 3D programs.
Instrumentarium Dental
Tech tip · Microfilm
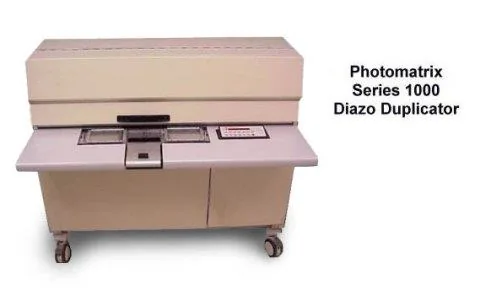
Tech Tip 91: Choosing the Correct IMAGELINK Product
IMAGELINK camera, duplicating, Archive Writer and COM films and processing chemicals grouped by equipment and application, with catalog numbers.
Eastman Park Micrographics