

Tech tip1 min read
EPM Tech Tip 034: Typical Microfilm Density and Resolution
How processed microfilm density and resolution are typically evaluated using three white density documents flanked by resolution targets.
This Eastman Park Micrographics (EPM) tech tip shows the typical method for evaluating film density and resolution after processing. In a typical camera exposure, three white documents for density measurement are placed with resolution targets on both sides.
Highlights
- Density and resolution should always be read through the emulsion.
- Three white documents are used for density, and their average is the reference value.
- In the processed film example, readings of 1.02, 1.00 and 1.04 give an average density of 1.02.
- Resolution (Reso) targets are placed on both sides of the density documents.
Description
In the exposure layout, the three white documents are in the middle and the resolution targets at the sides. After processing, the areas of the three white documents become dark areas, and the density of each is measured with a densitometer. The average of the three readings is reported as the final density for evaluating exposure and processing quality.
Source:Eastman Park Micrographics(epminc.com)(opens in a new tab)
Frequently asked questions
How is microfilm density measured after processing?
In a typical camera exposure, three white documents are placed in the middle. After processing, each becomes a dark area and its density is measured with a densitometer through the emulsion, with the average of the three readings reported as the final density.
Where are resolution targets placed in a microfilm exposure layout?
Resolution (Reso) targets are placed on both sides of the three white documents used for density measurement.
How is the final microfilm density calculated from three readings?
The three readings are averaged; for example, readings of 1.02, 1.00 and 1.04 give an average density of 1.02.
Attachments
Comments
No comments yet. Be the first to share your view.
Leave a comment
More to read
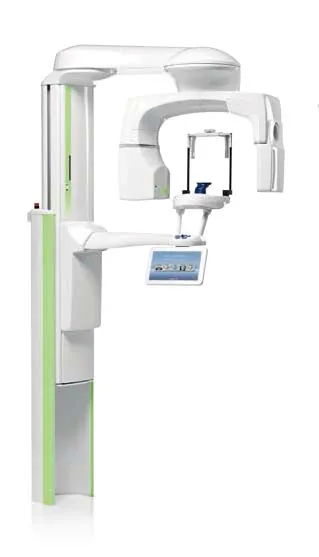
Tech tip · Dental Imaging
Planmeca ProMax Cephalostat with ProTouch User's Manual
User's manual for the Planmeca ProMax Cephalostat with ProTouch touchscreen, for accurate head positioning and cephalometric imaging on 2D and 3D ProMax units.
Planmeca
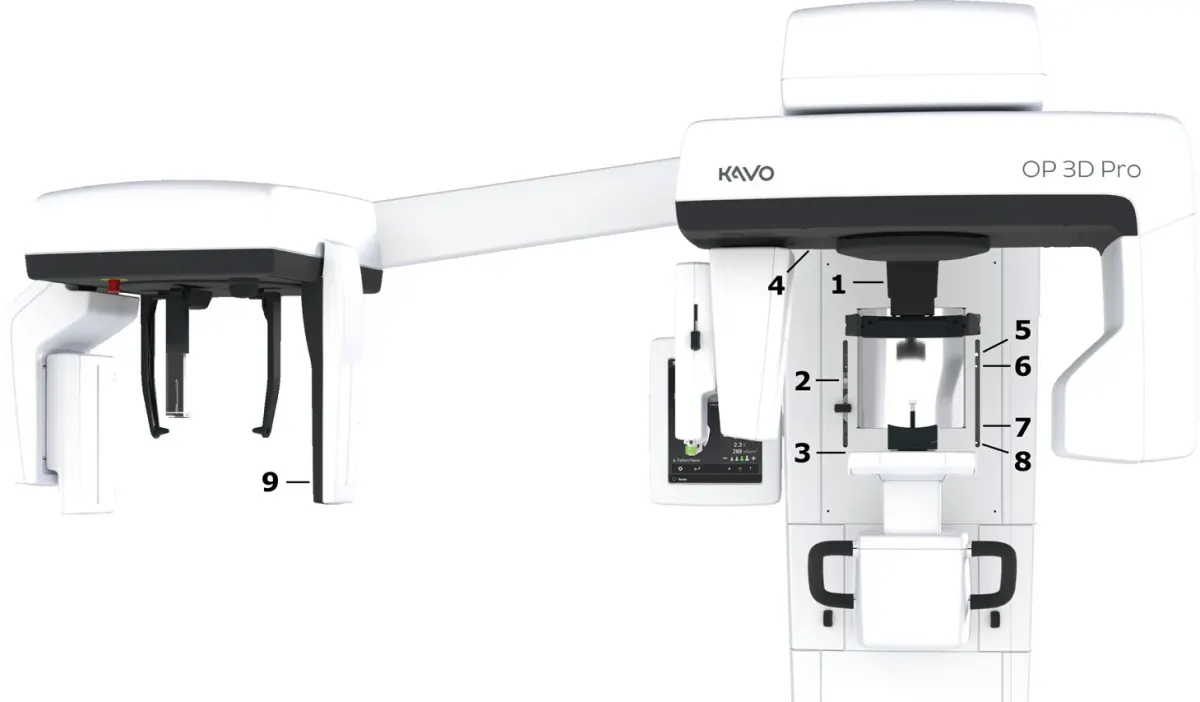
Tech tip · Dental Imaging
ORTHOPANTOMOGRAPH OP 3D Pro User Manual
User manual and technical specifications for the OP 3D Pro digital dental imaging system with panoramic, cephalometric and Cone Beam 3D programs.
Instrumentarium Dental
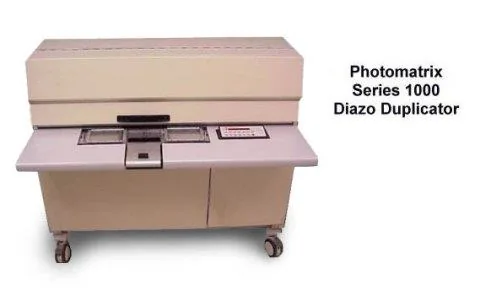
Tech tip · Microfilm
Tech Tip 91: Choosing the Correct IMAGELINK Product
IMAGELINK camera, duplicating, Archive Writer and COM films and processing chemicals grouped by equipment and application, with catalog numbers.
Eastman Park Micrographics